


Making etching prints
My first attempt at printing with TetraPak

Hello everyone,
This week I had a particularly fun session at the art class that I’m taking at my local community centre so I wanted to share with you what I’ve learned.
I studied art many moons ago and these days most art communities I am a part of are online so it’s fun go back to basics and meet up with a group of like minded people every week, discussing art supplies and trying out different drawing techniques, always learning something new over a cup of tea.
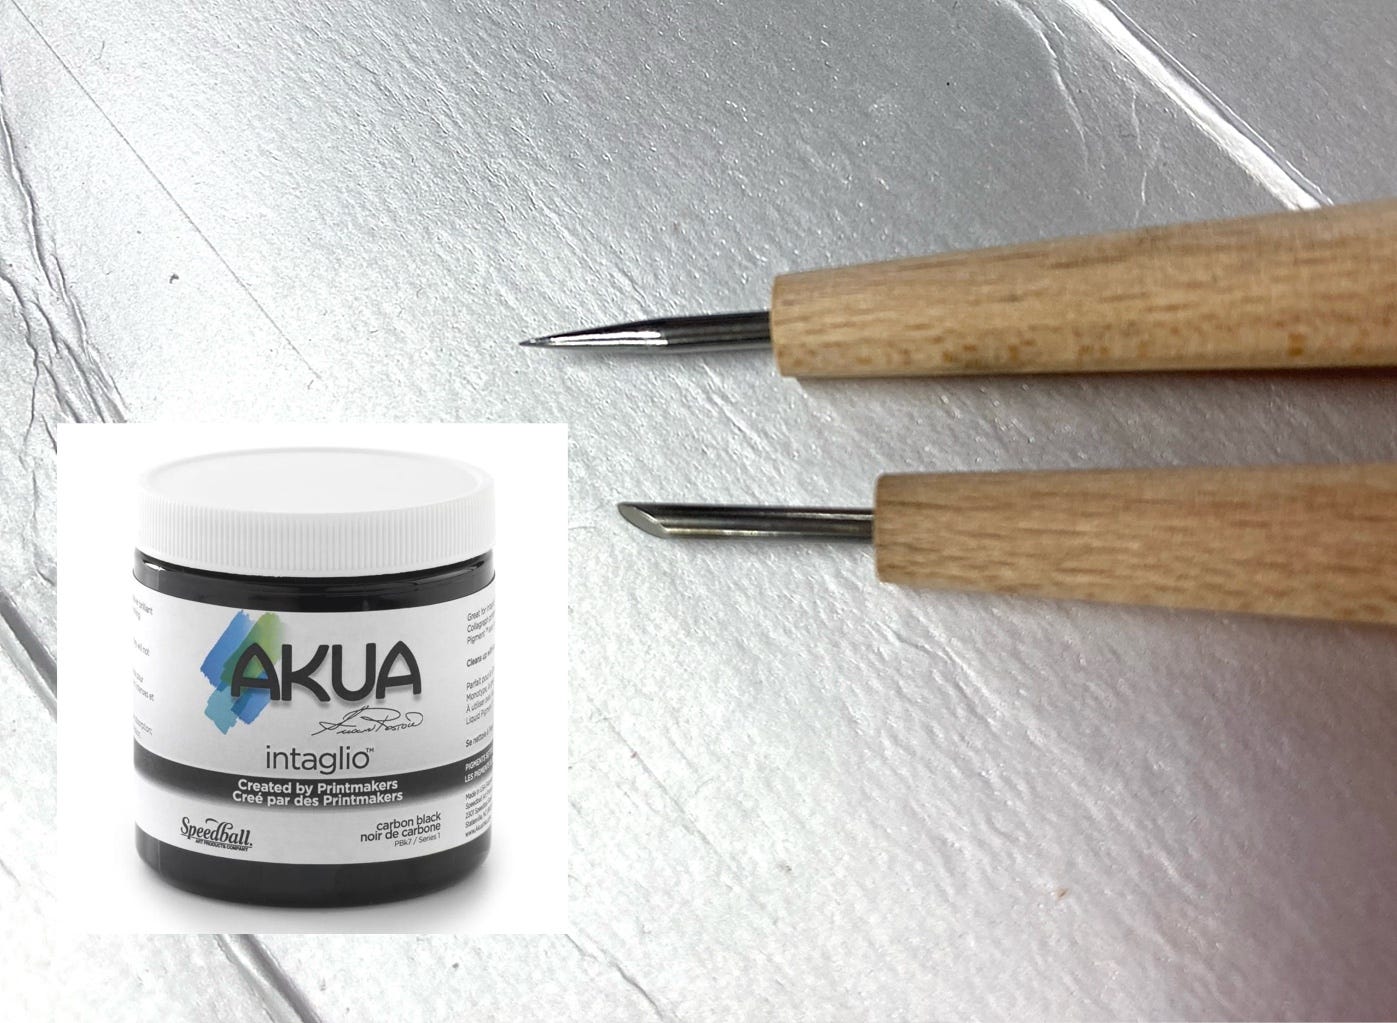
In our last session we tried making prints with etched designs, using a common household item, an empty TetraPak container. I’ve been admiring certain artists on Instagram who are regularly posting incredibly intricate etching prints so I was really excited to learn more about this technique. Using a dry needle, a biro or any other sharp point we can draw on the soft foil, etch out lines and textures and, where we want the design to be completely saturated, we scratch out the top aluminium layer and expose the cardboard beneath, which will soak up the most ink and make the darkest impression.
Etching on foil is different from carving out a linoleum because here we don’t have to imagine the design in reversed values, meaning that what we etch out the deepest will make the darkest impressions, unlike linocut technique where we have to leave the darkest surfaces untouched.
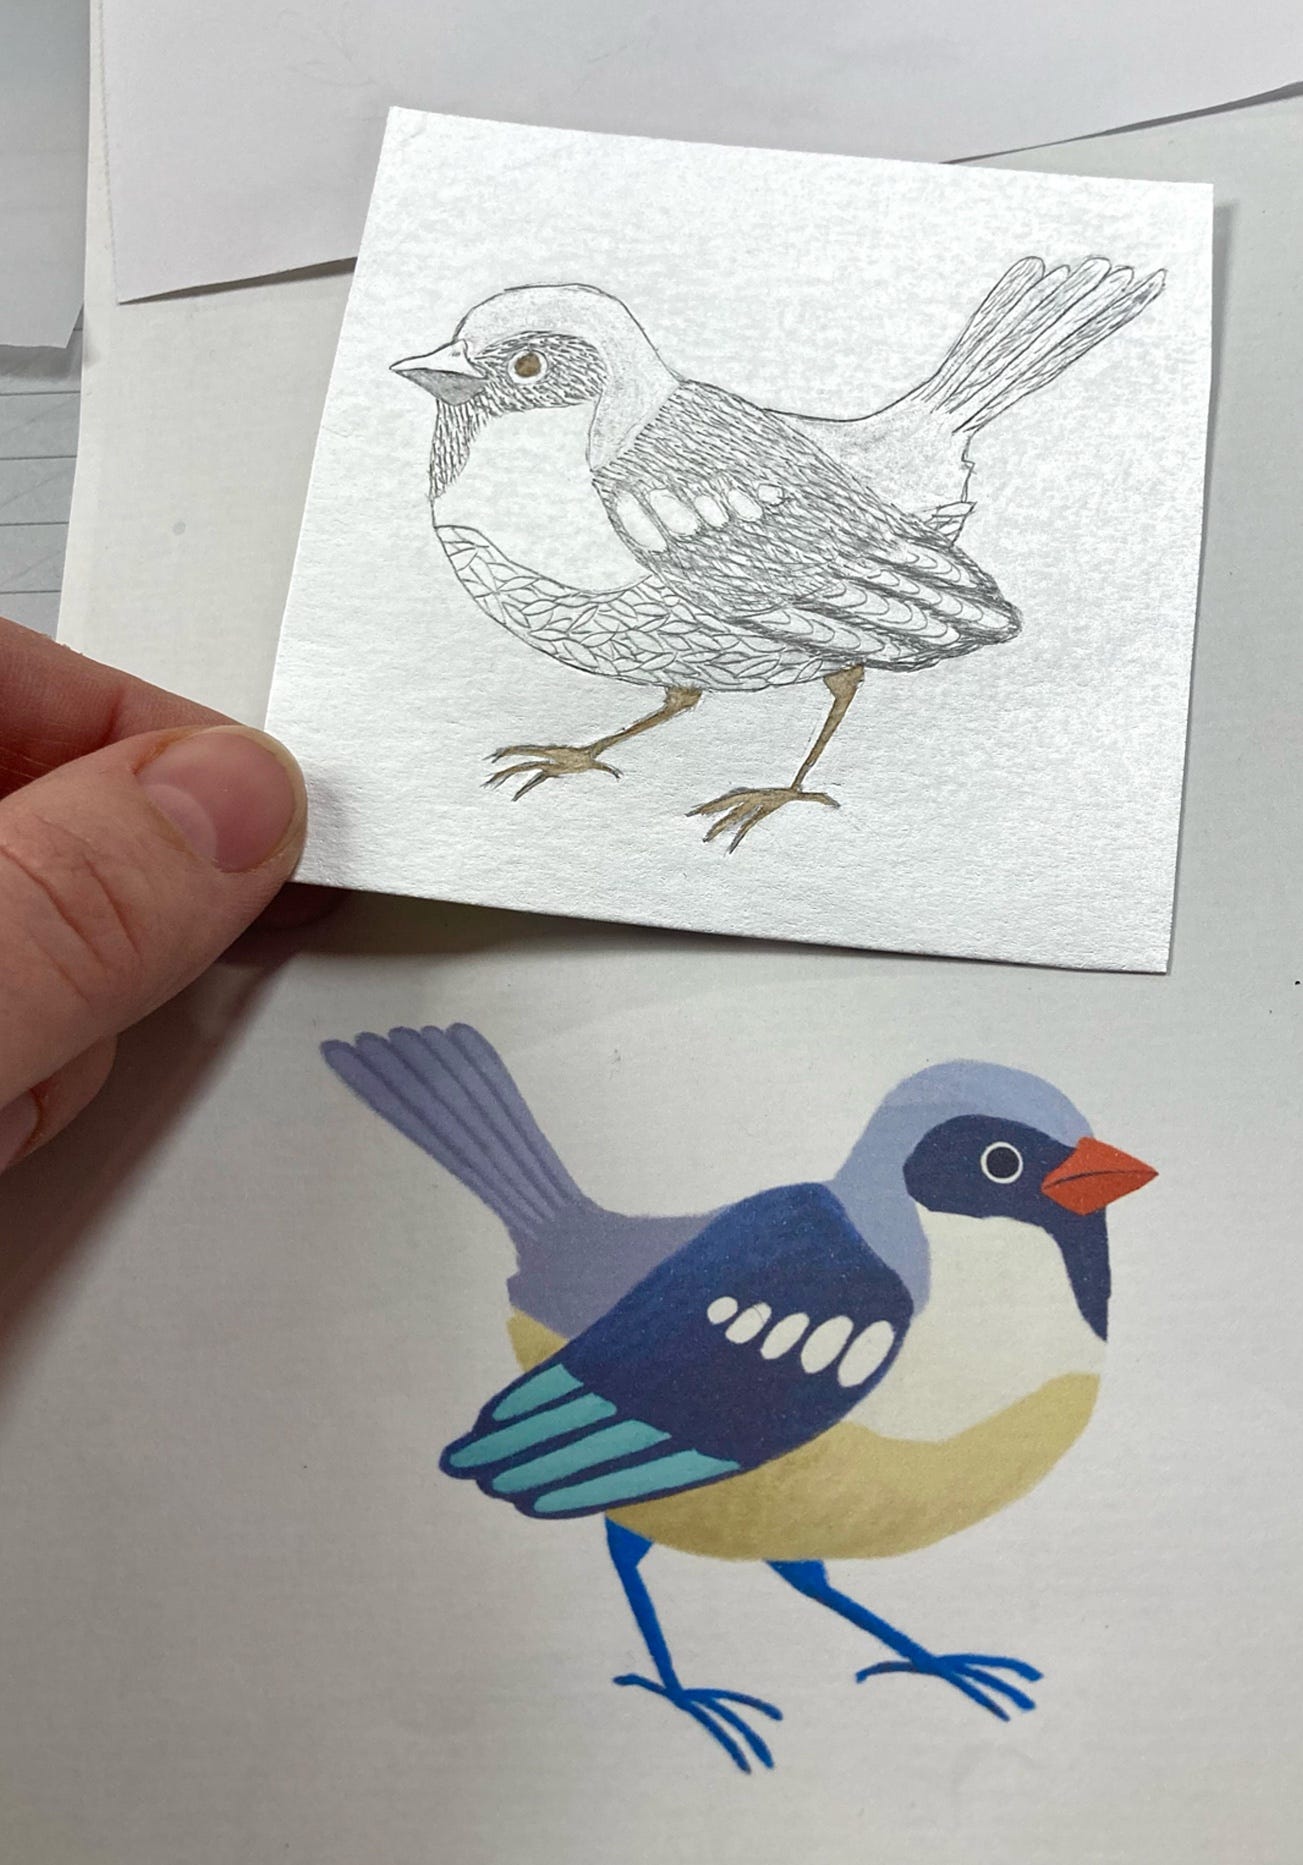
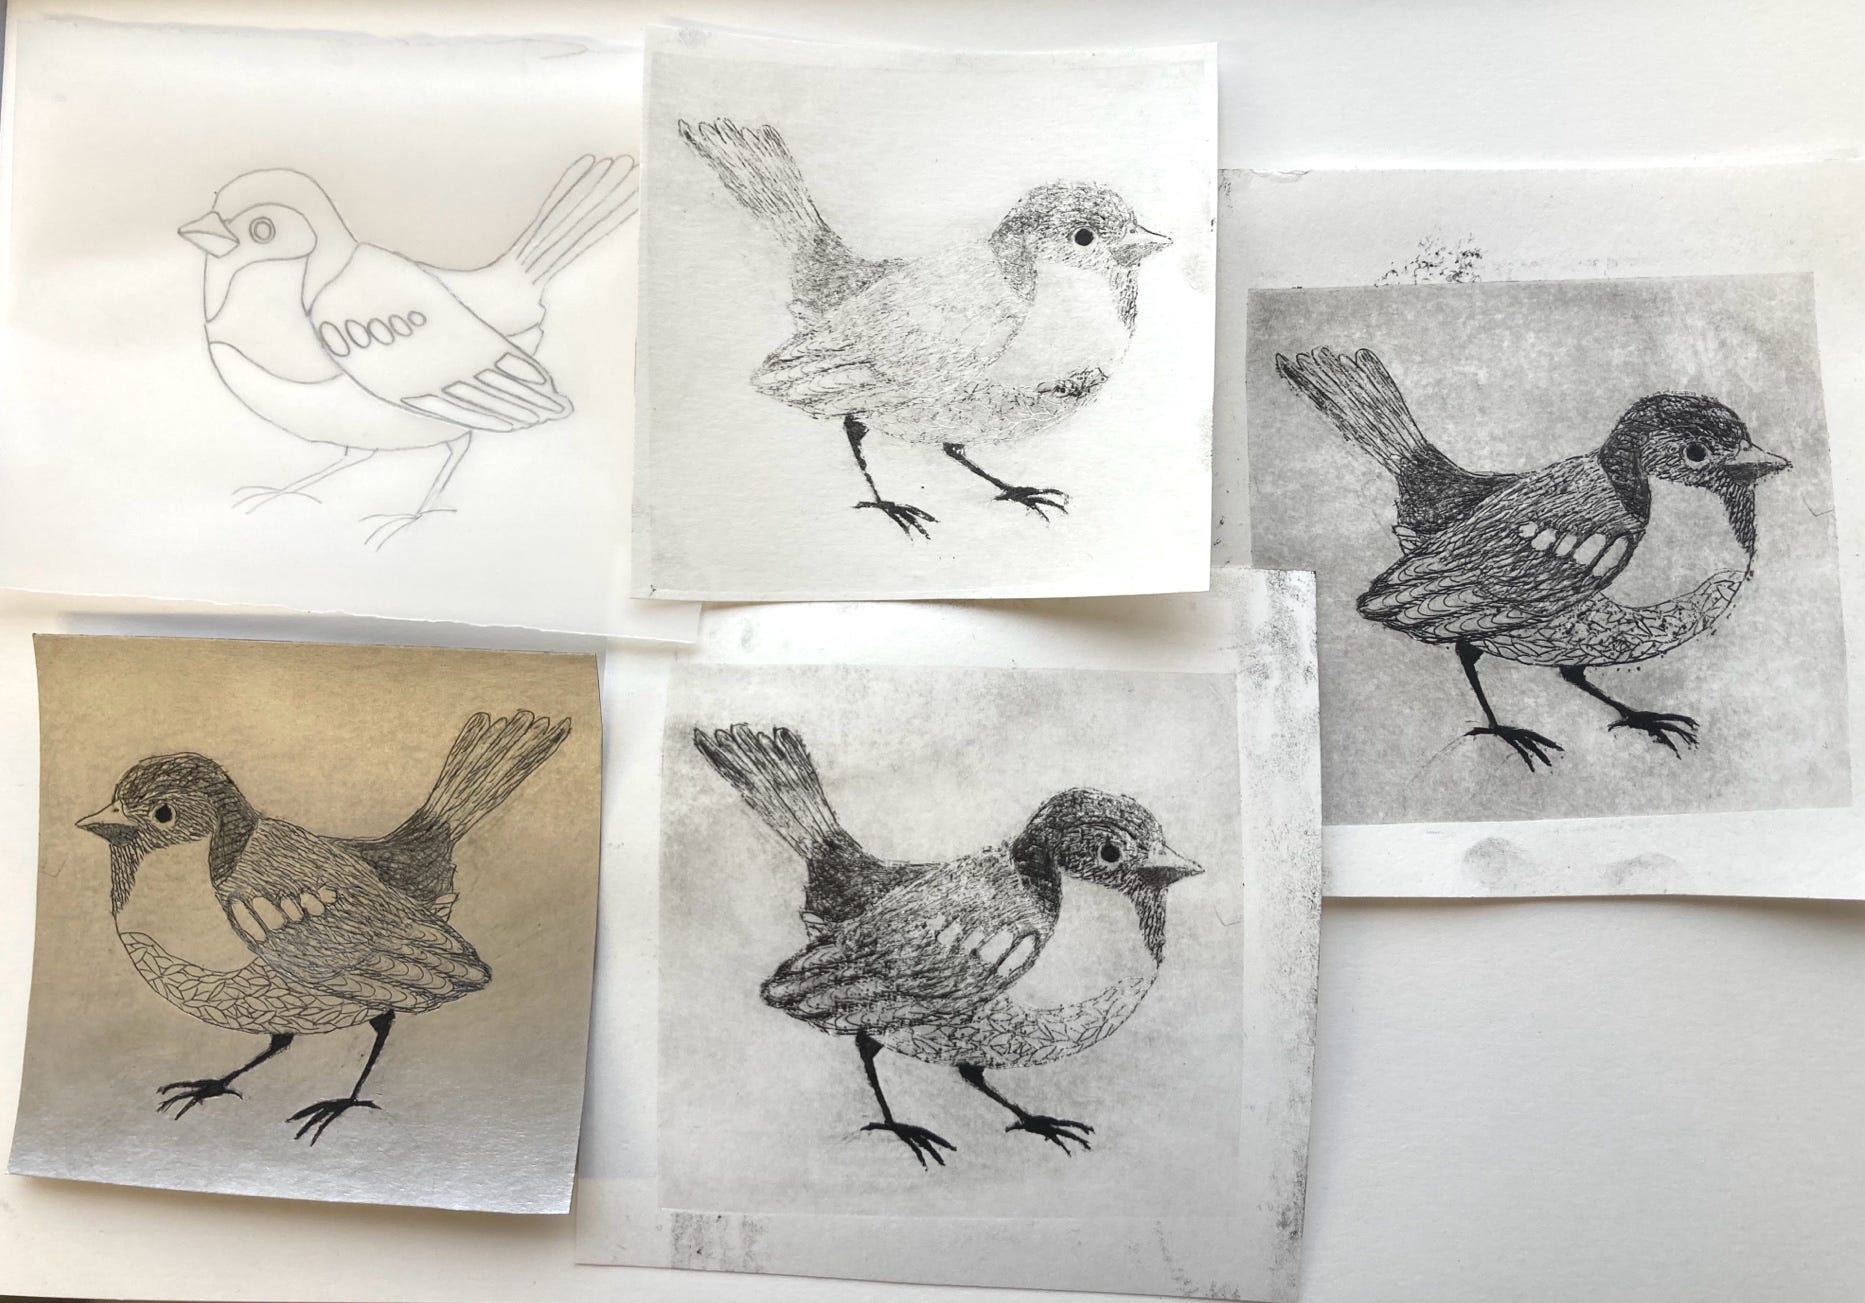
For this printing exercise I used an old bird illustration of mine - I copied the outline on a piece of vellum paper and transferred it onto my TetraPak foil, mirroring the image so it prints the right way (I used a flatter etching tool on the bird’s head and tail but since it didn’t show the desired effect I later went back and etched some more texture, see below).
At the art class we used the special, oil based printing ink that is thick but still viscose enough to get into every little scratch - this Intaglio AKUA ink is also fairly easy to wash off hands and everything else that will inevitably get messy even when we are using gloves (plus buying ink in a pot seems more practical than in a tube - once you squeeze out too much you can’t put it back unlike with a pot).
We used two different dry needles, one with a sharp point and another with a flat oval for pressing in larger surfaces. I found that the sharp one worked for me best. Once the etching was finished, we gently sanded it with the softest sand paper to get rid of any small particles and keep the edges of the drawing sharp.
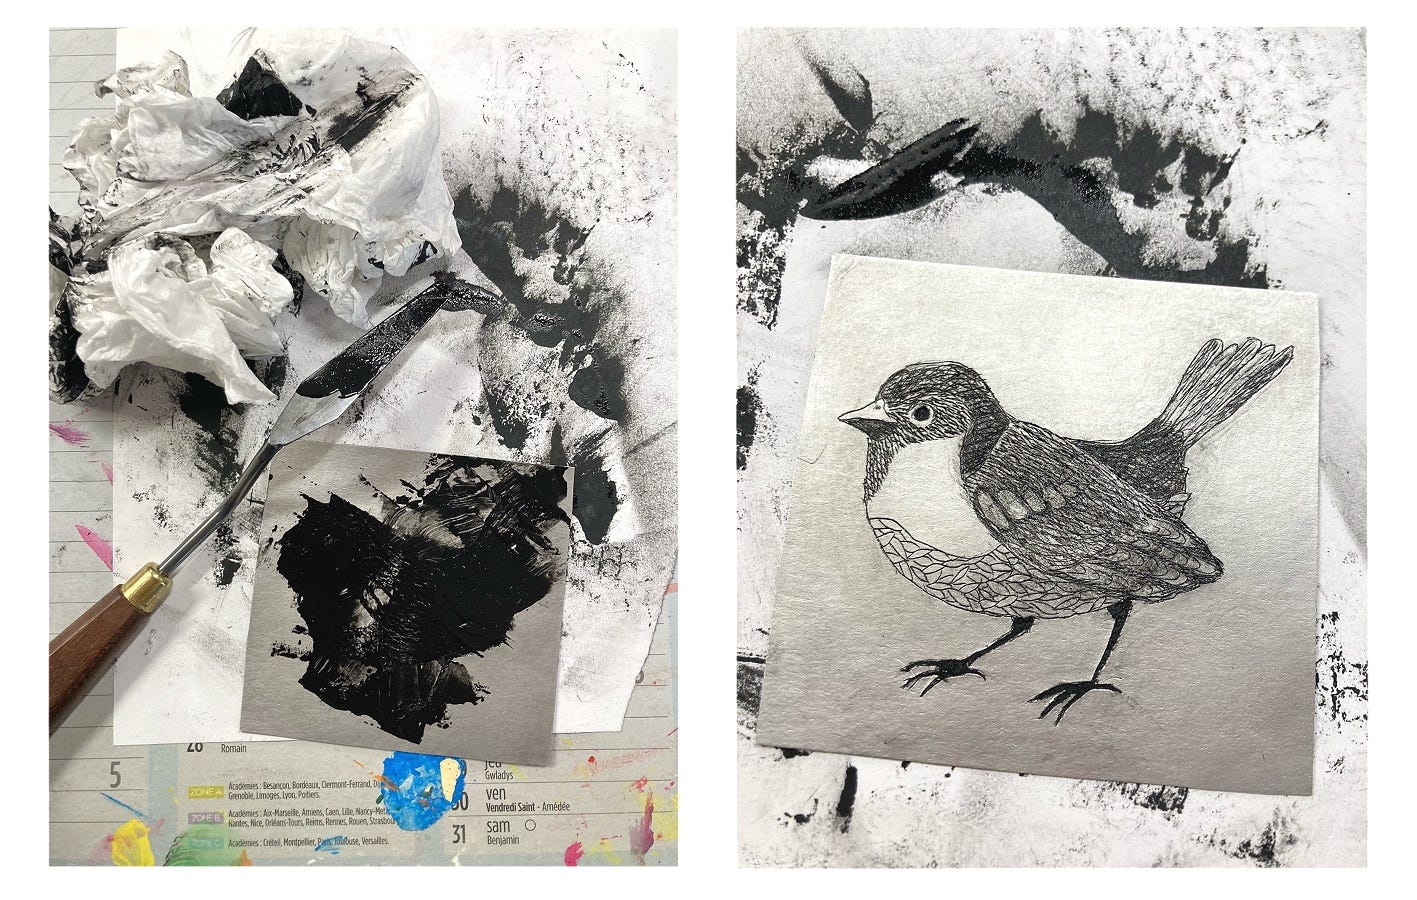
When I say messy, I really mean it, the ink was everywhere! Once we smeared it on the etching with a flat pallet knife, we carefully massaged it into the drawing with a cloth and then wiped it off from all the unscratched surfaces.
Once the etched surface is ready, we need to damp our paper (250 - 300 grs/m2 of smooth paper works the neatest), lay the etching on a piece of felt inked side up and lay the paper on top wet side down. Damp paper will absorb the ink more intensely, just make sure it’s not dripping wet. There are different printing presses on the market but in the class we used a simple pasta maker roller and it worked just fine (the paper/felt/etching trio sandwiched between a folded sheet of card stock).
The secret to a successful print is not only knowing how to etch out different values but also how much ink to wipe off once you apply it on the drawing - in my first attempt I wanted the space around the bird to be as white as possible so I wiped too much ink off, leaving the print very washed out. A better solution to a clean white background would be remove it and only print the cut out bird.
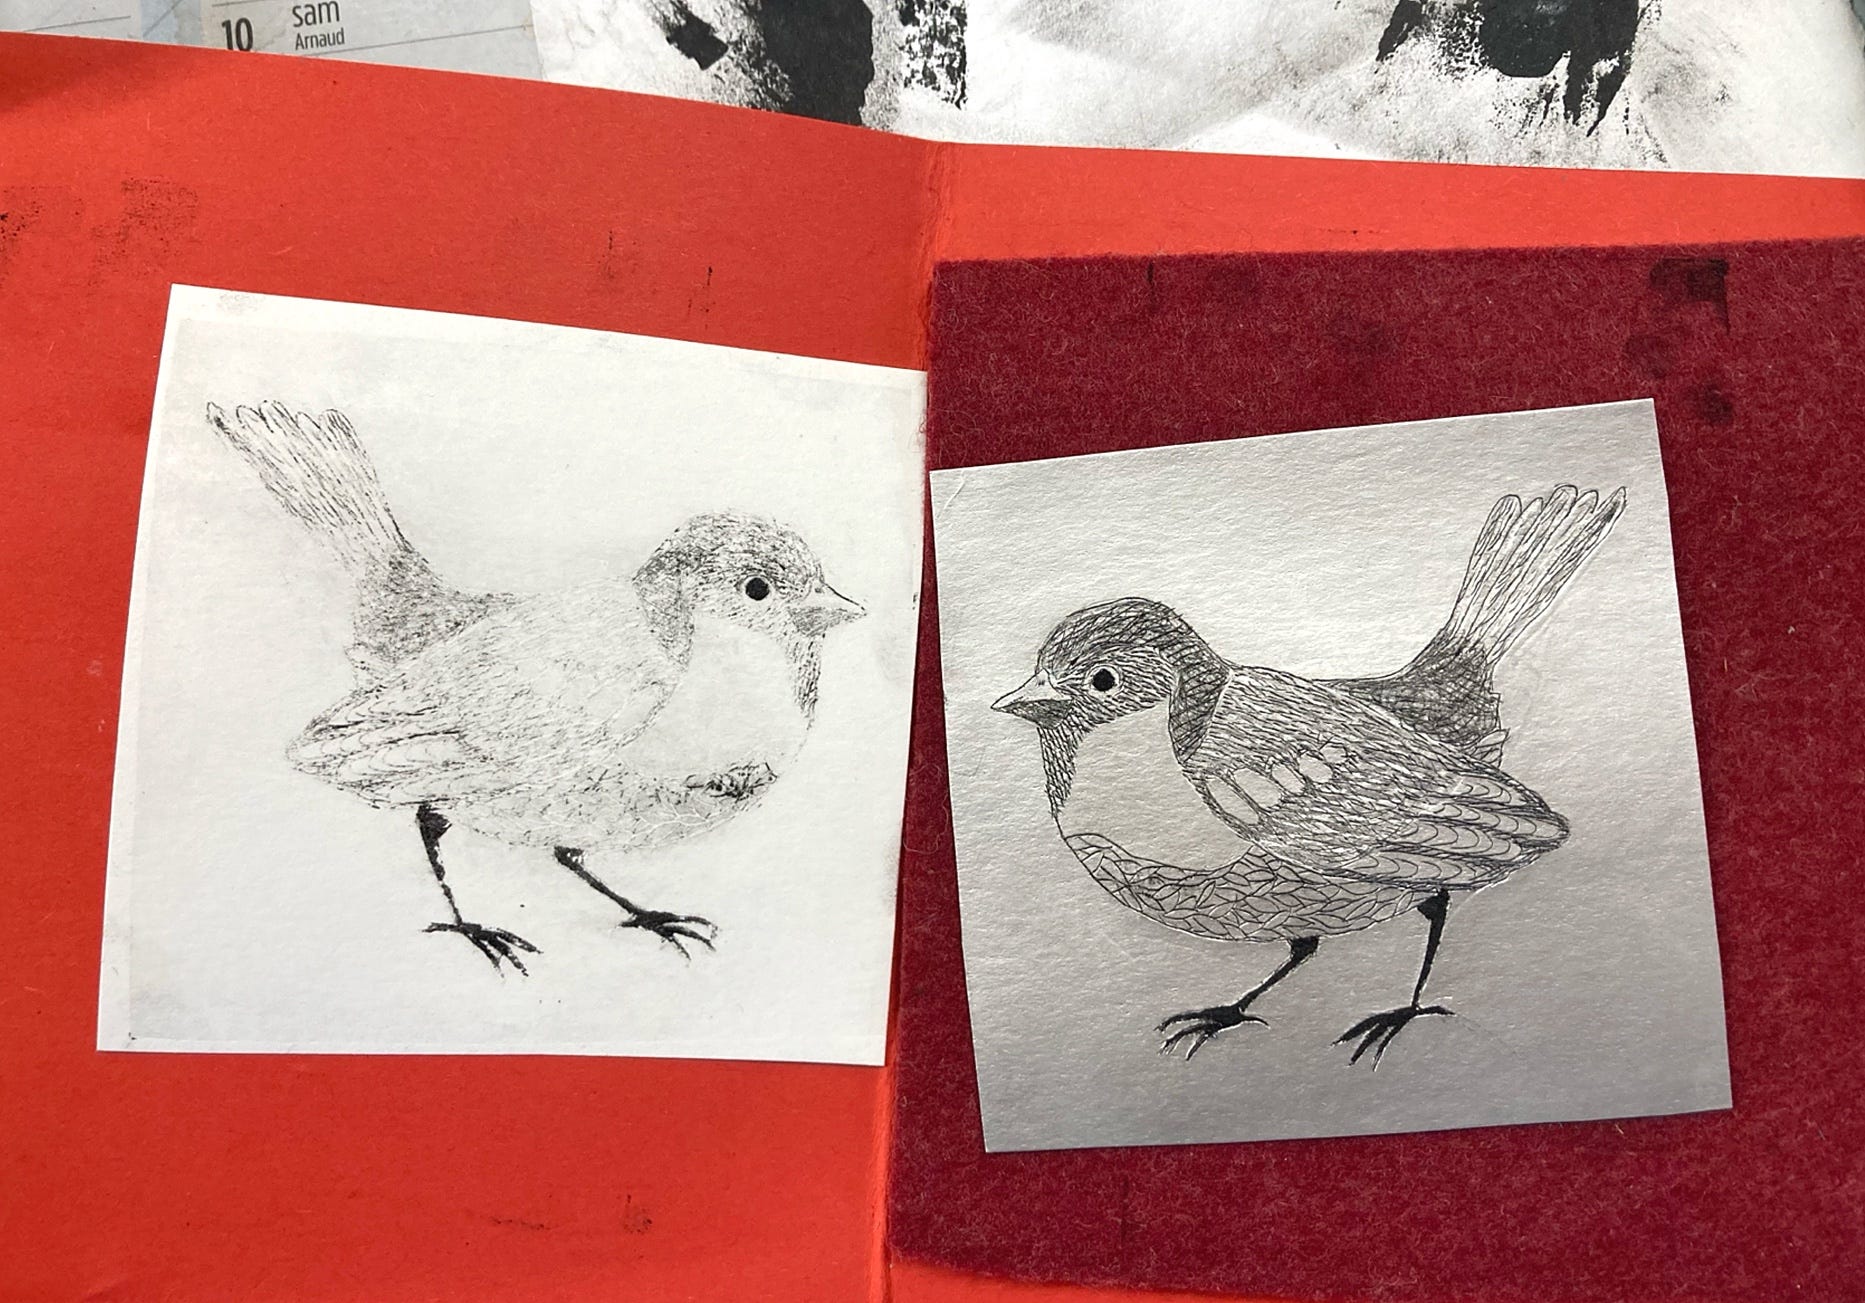
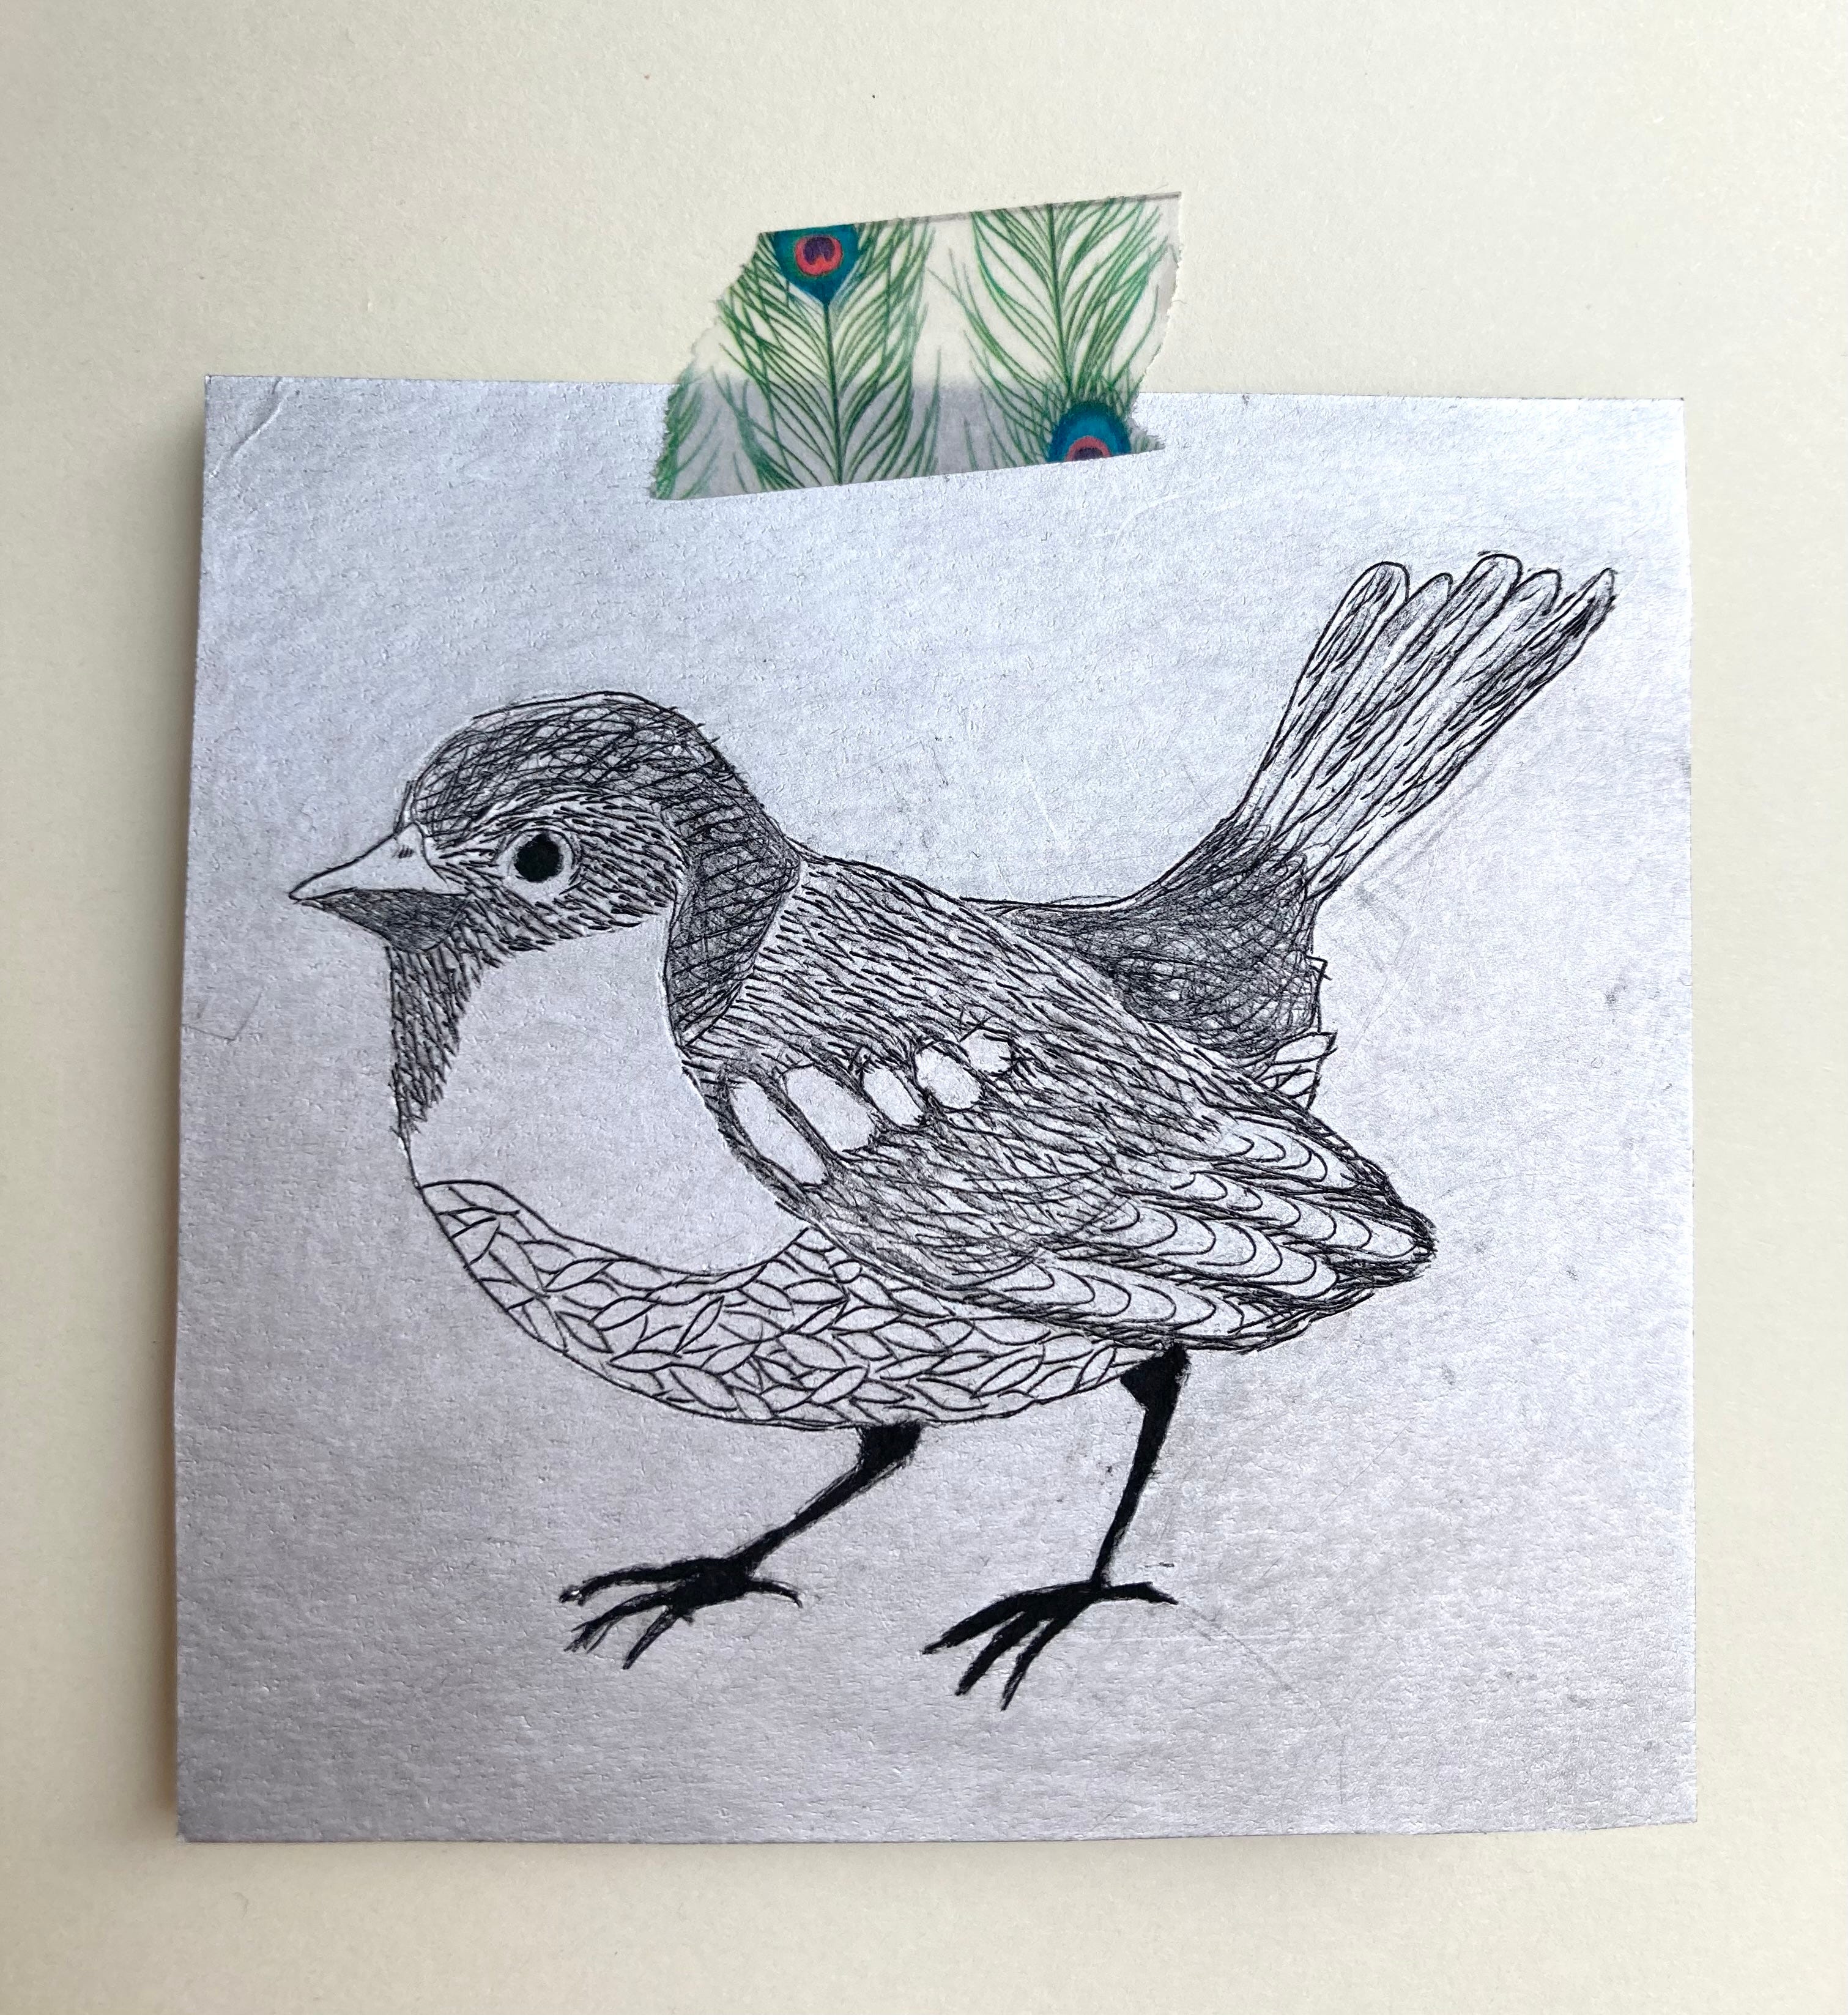
After a few adjustments (adding more etching to certain parts to make them darker) I tried out some more prints, experimenting with the amount of ink and the way I wiped it off.
I’m very happy with the results and am determined to do some more printing at home (I already have the pasta maker!). I might chose a slightly different ink, perhaps a sepia brown, and combine it with come vibrant highlights, added with carved out stamps (a basic white eraser works great for those).
I hope you enjoyed this recap of my first attempt at making etching prints, let me know if you’ve tried this technique already and what else have you learned, which tools and what kind of ink you like the most and any other tips you have, I’d be happy to learn!
Have a great weekend and I’ll be back soon!
Damjana
So cool! Thanks for sharing!